The construction beat, that is (click here to listen). I believe the last construction update (not related to solar
power) was “Sunshine in the Rainy Season” back in September. We have have made
quite a bit of progress since then:
- rainwater caching system with new vats connected to the new rainwater downspouts
- electrical wire runs on the main level prior to finishing the wall
- tongue and groove hardwood floor
- tongue and groove hardwood wall paneling
- plumbing supply and drain lines for the bathroom and kitchenette
- plycem walls in the bathroom and kitchenette
- shower base
- shower wall tiles
- bathroom vanity and cupboards
- layout of the stairs to the upper level
The pictures tell the story. But I added words, too. :-)
Downspouts to the new vats and plumbing lines connect them to the water pump. We have enough vats now to take us through a prolonged dry season.
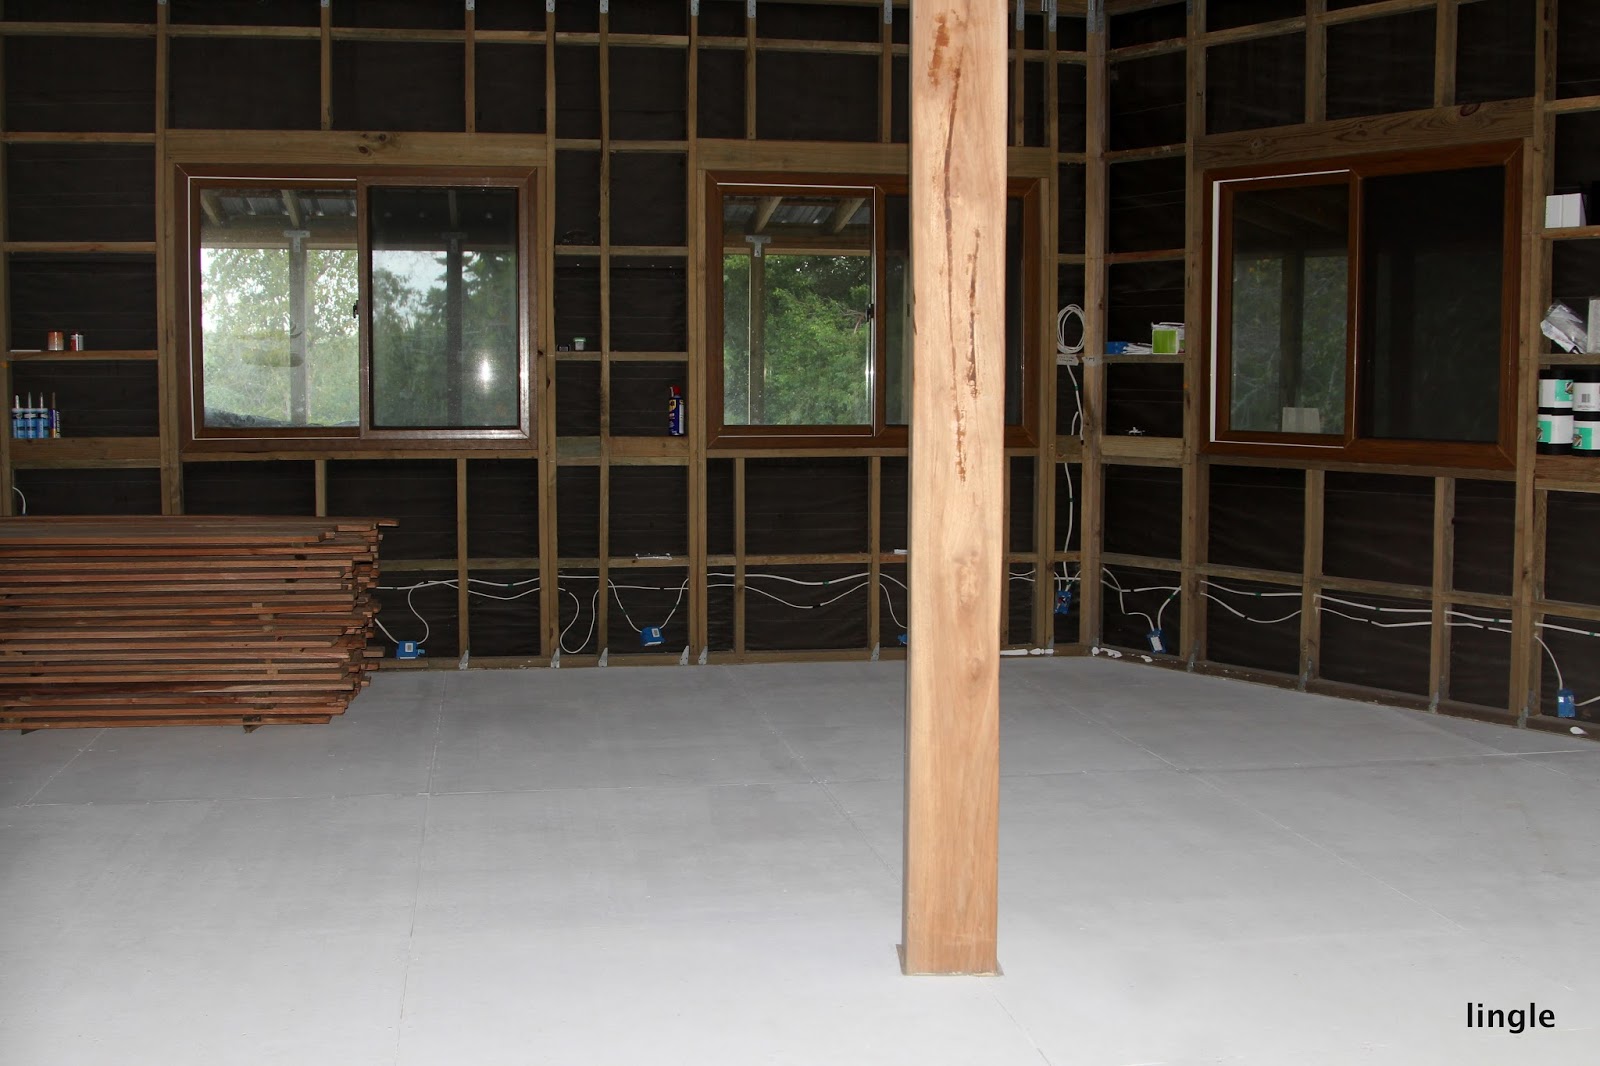
The electrical wires are in the wall and the subfloor is cleaned and prepped to get ready for the installation of the flooring and the wall paneling.
The wires are neatly organized to tie in to the circuit breaker box. We keep a CO2 fire extinguisher handy - no fire department to call, not even a volunteer department!
We hired Margarito Ortiz of Keystone Design and Construction Management to do the floors, wall, bathroom vanity, stairs, and kitchenette. He is letting our able crew assist them to help us keep the cost down. It seems to be working out well, plus our guys are getting some advanced training from professionals.
One of three large stacks of hardwood flooring acclimating to the space before installation.
More wood leaning against the wall. This wall separates the bathroom on the other side from the closet space where the wood is leaning for now.
View from the front door.
The first piece of flooring is going down! Things should move along quickly now.
Or not. The flooring came in 3 lengths - 8, 10, and 12 feet - with a nominal width of 5 1/2 inches. Key word is nominal. Turns out that the widths varied a bit. At the end of the first day of laying the floor, we had not progressed very far.
The new day sees us starting with quality control - organizing the wood by width. We now have 4 big piles of different widths that are accurate along the full length and 1 pile of rejects where one end is significantly different in width from the other end. As long as we use the same width for each run, it will go faster now.
Happier faces now that the major frustration of the wood has been sorted out. The chop saw is ready for business.
And the now work moves along quickly. La de da de de, la de da de da. Clamps are used to hold the tongue and groove joints snug while the next piece is toenailed into place. Finishing nails anchor each piece to the subfloor. The finish nails are set in with a nail punch.
Looking down at the progress.
More than half is complete by the next day.
I really like the angle of the sun and shadows across the floor at the front door.
The last pieces with tricky angle cuts are fitted at the back door.
In the meantime, the bathroom has gotten some attention. That is the snazzy Nature's Head Composting Toilet sitting where it will eventually be situated. It separates the liquids from the solids so that the liquid, which is actually the smelliest part, can be emptied more often. The black strap is attached to what we affectionately call "pee jug". Behind the pee jug is the main container for the solids. You add either coconut coir or wood shavings to it after each use and crank a handle to mix it in. A little exhaust fan that vents outside through a conduit runs constantly. The Nature's Head Toilet was designed for marine use, but we think it will suit us very well. The biggest advantage is that we won't have to build another septic tank.
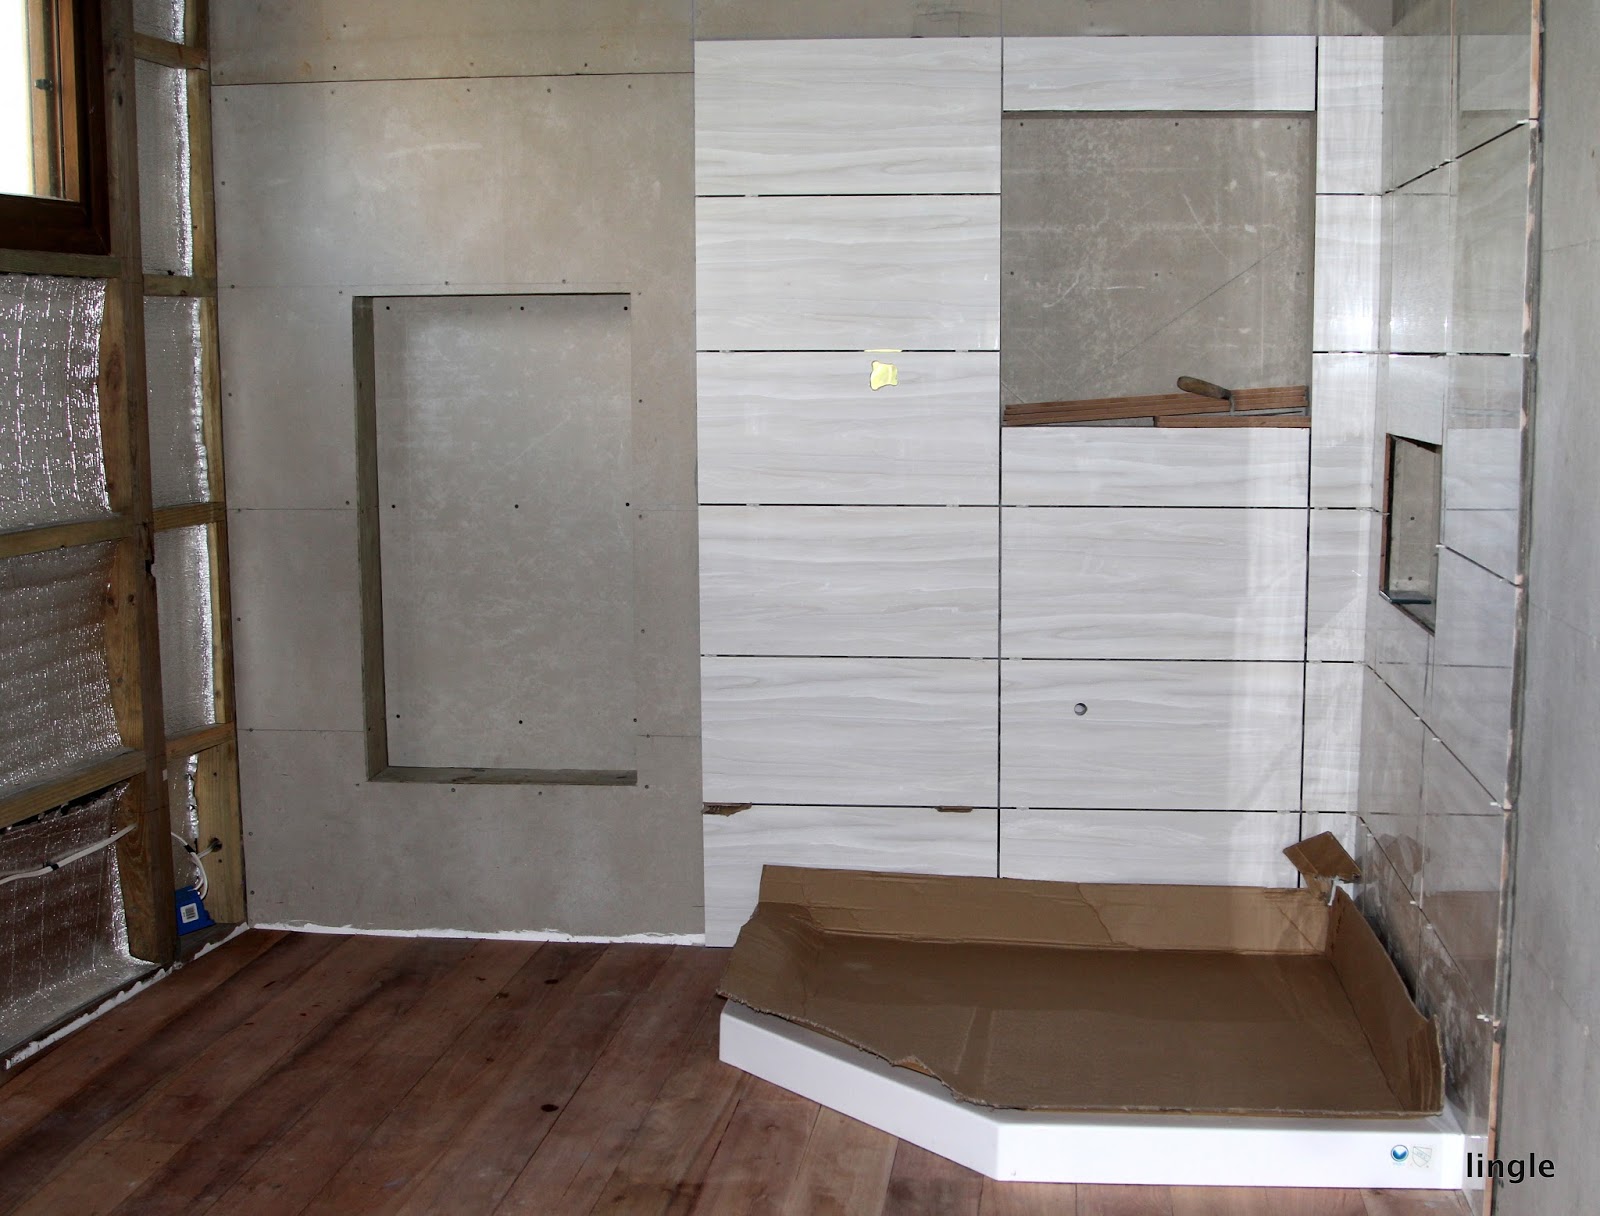
The shower base is a 4 foot square with a corner cut off. We have a frameless glass enclosure that will be installed as the last thing in the bathroom. Two niches are set into the shower wall. They show up better in the image below.
We are using Daltile "Mont Blanc" in ivory and with a grey-blue glass tile for accent around the inside edge of the niches.
Graphite colored grout to set it off.
Grab bars installed in the shower. Another will go next to the toilet.
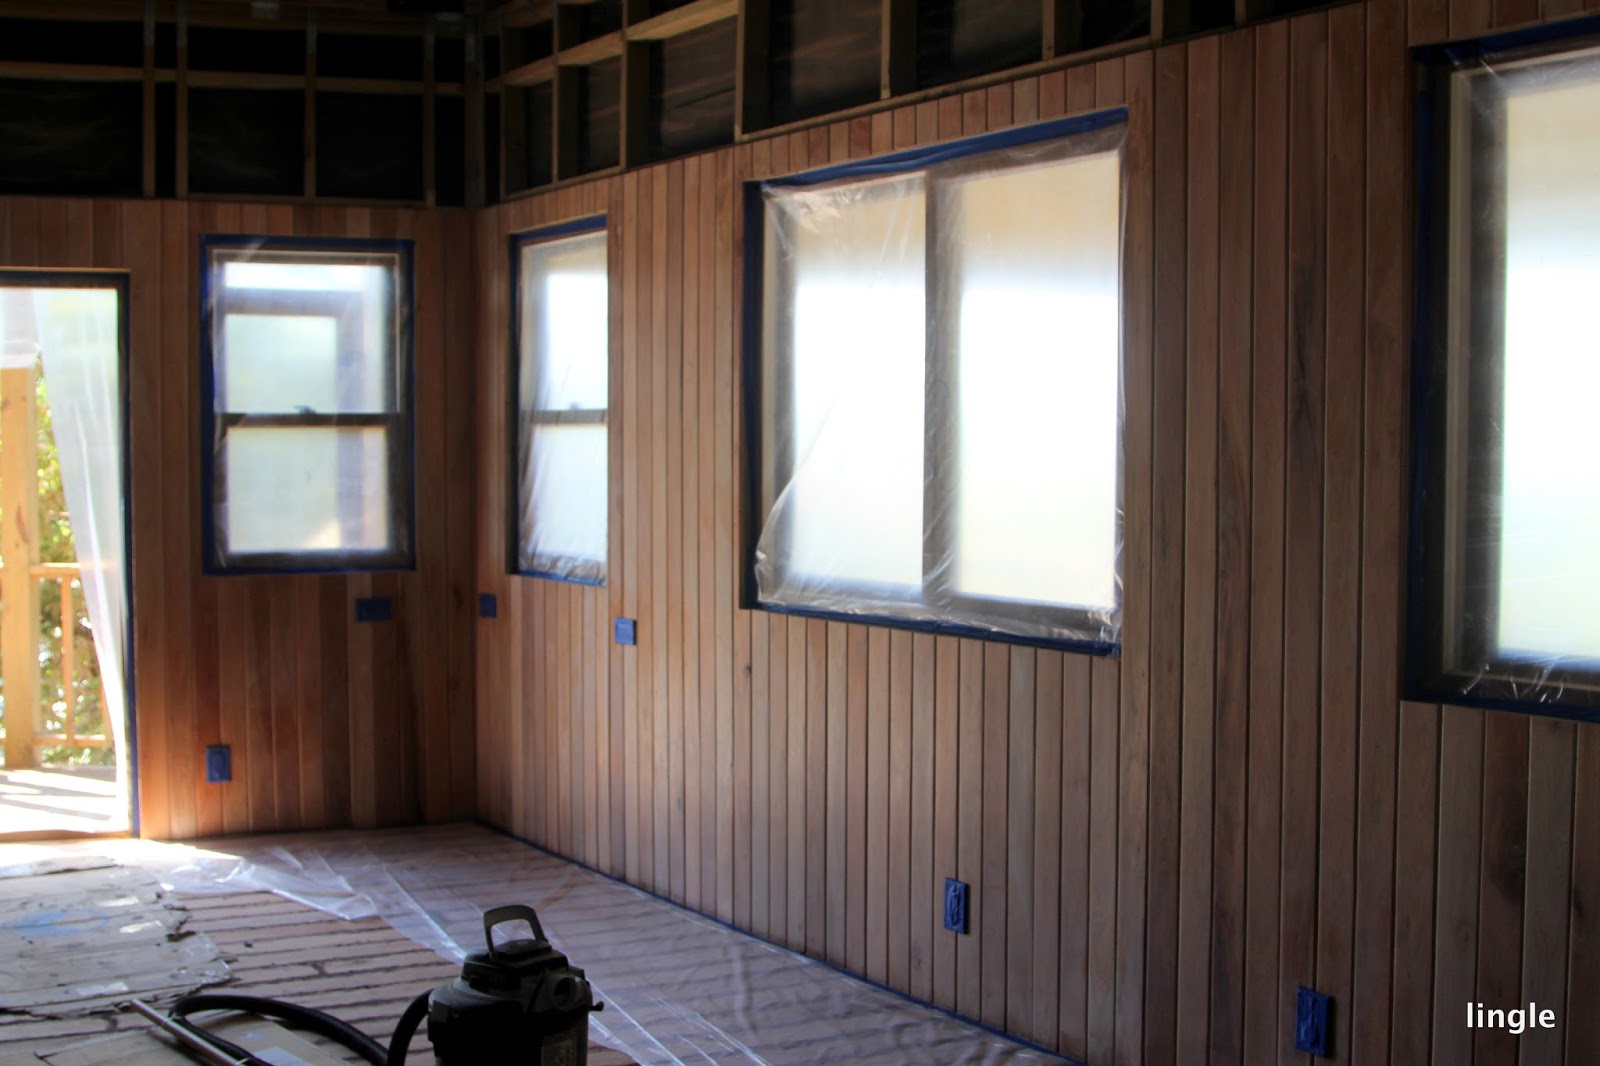
The wood paneling was going up at the same time the bathroom tile was. The paneling is 3/4 inch thick tongue and groove Santa Maria wood with a V groove along each side.
The paneling pieces were cut to fit around the window opening which will be trimmed out with wood stained to match the floor.
Plycem wall board will fill the gap between the paneling and the ceiling. The floor will be stained a dark espresso color and we are undecided about the walls. We will either keep them natural or go with a pickled or limed finish that is similar to a white wash. Right now we are leaning toward natural, knowing that we can do the pickled finish at any time.
Time to sand the floor now that the walls are up. Dust protection is essential at this stage. Do we have enough power cords?
Lots of dust from the sanding.
Once the floor was smooth enough, filler stained the color the floor will be is pressed into all the seams and nail set holes holes.
It looks worse before it looks better. We hope ...
The room was vented out the back while sanding and just look at the dust that blew up onto the solar panels!
The sanding dust was so thick on the little solar panels that charge up our little portable solar lights that they weren't fully charging until I cleaned them.
The floor and windows are covered before the first coat of finish is applied to the walls.
The first finish coat is lightly sanded and another one gets applied. Then the floors are sanded several times to even out the fill before the first stain coat goes down.
The stain has to be applied quickly and evenly in the direction of the grain.
This is a water based stain that will take several applications with a final finish coat later on.
The plycem is almost complete on the wall that separates the bathroom from living space. The stairs from above will start at the right of the image and come down along the wall with a dog leg turn so that the last 8 steps come toward the camera. The kitchenette will be positioned underneath the tallest part of the stairs. The plumbing for the sink has been roughed in.
The plumbing has also been roughed in for the bathroom sink. A large bathroom vanity will cover this wall.
Our crew has been working on the wood trim for the windows and door. An old sock of mine has been put to use as a dust collection bag/filter for the small sander.
Our guys custom cut the wood for the window frames and stained it to match the floor.
The first part of this trim is in place.
We used a nail gun with headless finish nails to mount the trim pieces.
The first windows are trimmed. The top piece of the window trim is a moulding strip that caps the seam between the paneling and the plycem wallboard.
The massive vanity was built off-site. It arrived and was installed 2 days ago.
A faux medicine (seen laying on its side) will cover the electrical circuit breaker box.
A matching, but real, medicine cabinet goes on the right side of the mirror.
They got it aligned, level, and plumb and then fastened it the wall.
I used my phone to get this shot and the one below because it has a wider angle lens than my big camera. The whole thing is just shy of 12 feet in length.
Some open shelves will go over the right end.
That almost brings us up to date. Our crew is continuing to work on the window and door trim and to complete the tiling in the bathroom. Then we will install the glass shower enclosure. Tomorrow, the Keystone crew will return to finish the floor and walls. In a couple of weeks they will come back with the stairs. Once the stairs are up, we can finalize the cabinet for the kitchenette.
And the beat goes on, including my beat. Today is my 61st birthday and the 4th birthday I have celebrated here in Belize. Dennis tells me he is cooking a birthday dinner for me of tamarind chicken, spinach and mushrooms over rice, with a garden salad. Port and chocolates for dessert. La de da de de, la de da de da.